Cart empty
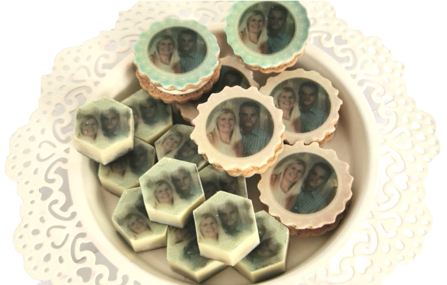
Pralines Decorated using Chocolate Transfer Sheets
- with your own picture -
The procedure is very easy, you only need a little patience and time.
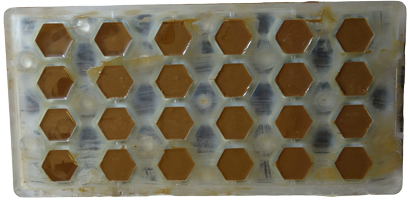
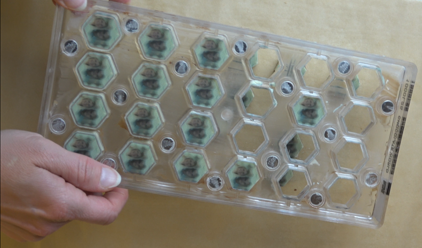
For the production of pralines with your own photo or another pattern for transfer foil, you need a magnetic form for pralines with a stainless-steel removable bottom.
Prepare your mold: To make it easier to knock the pralines out of the mold, it is important to use the Brillform polishing agent. Dip the clean mold into the agent and let it dry.
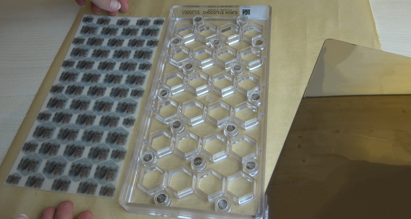
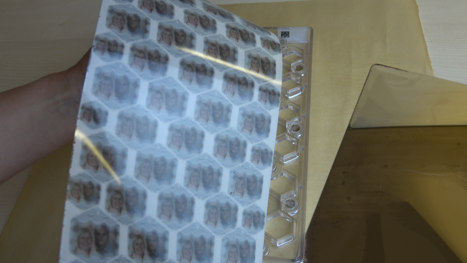
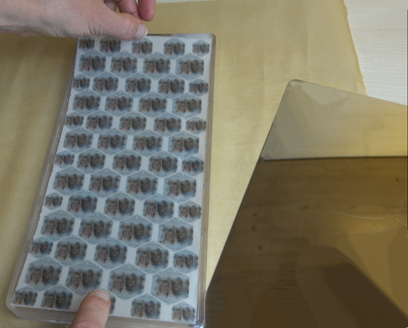
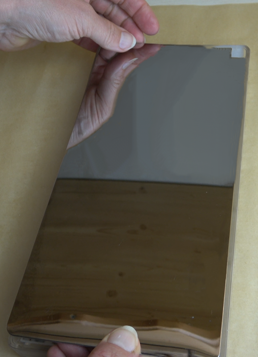
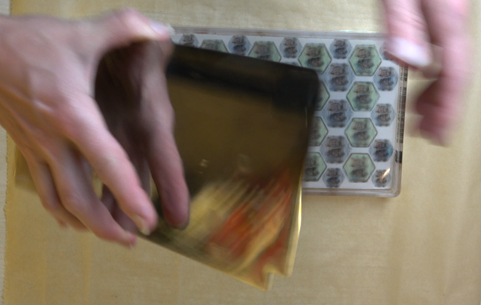
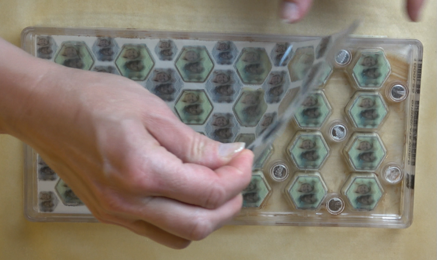
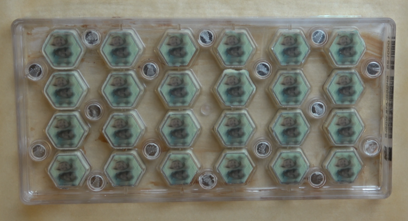
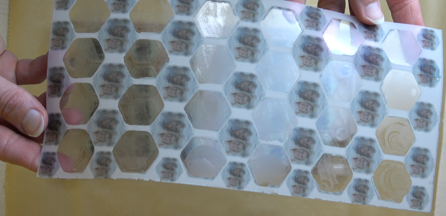
- Place the sheet on the bottom plate with the rough side facing upwards and cover it with the mold. Meaning you will snap it between the bottom and the mold.
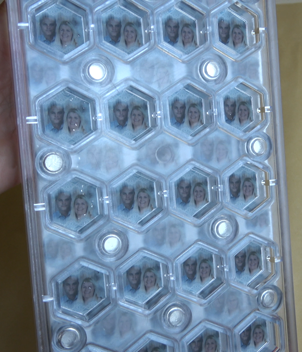
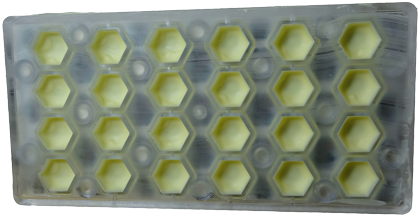
The foil must either be completely printed with an ornamental pattern or must have pictures (e.g. photographs) printed exactly according to the holes = the shape of the pralines.
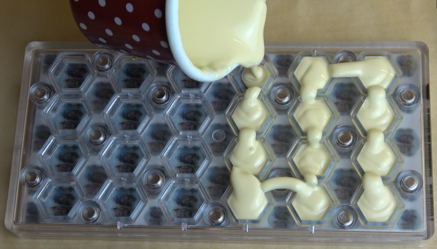
- Then just pour the melted chocolate (dissolved in a water bath) into the mold (aprox.50°C).
White chocolate is ideal because the image stands out best on it and the colors are bright.
Tip:
- Alternatively, to create an interesting color effect, you can fill the bottom half of the mold with white chocolate, where it is close to the foil and after hardening, fill the rest of the mold with dark chocolate. Then proceed with the next steps.
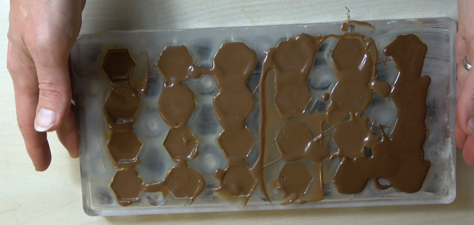
- Fill the mold with chocolate to the very edge. Remove the excess chocolate from the mold with a wide spatula. Then tap the sides of the mold slightly and let it hit the table several times to make air bubbles come out of the chocolate. Leave the chocolate in it for a while to create strong enough “walls” for the pralines.
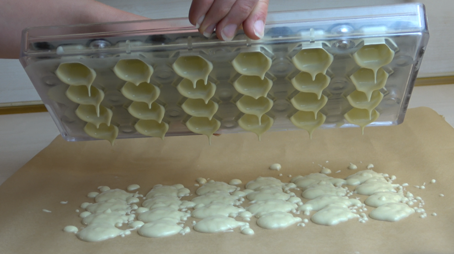
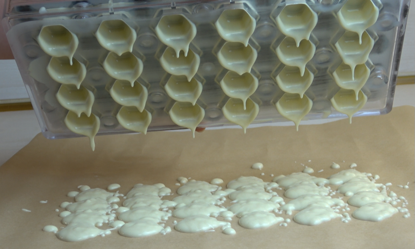
- When the walls of pralines are already strong enough, we turn the mold upside down and pour the chocolate back into a pot of chocolate or on a prepared mat.
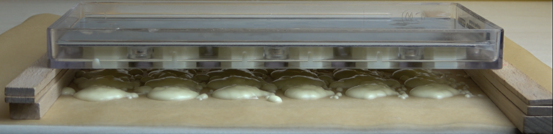
- It takes quite some time for the chocolate to drip completely. In order not to have to hold the mold, we place it between two bars above the mat and let the chocolate drip off completely and solidify slightly.
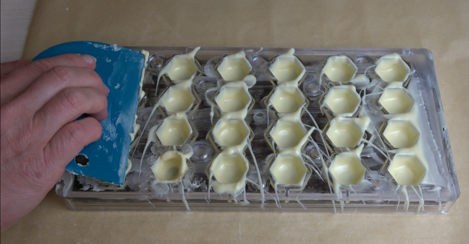
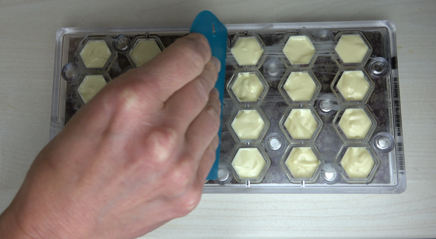
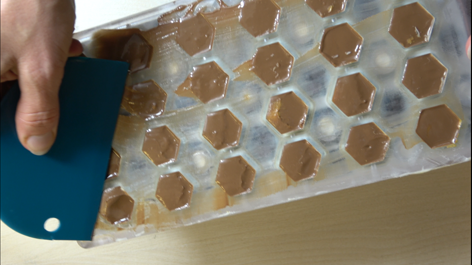
- As soon as the chocolate in the mold is stiff enough so that the walls do not crumble in, but again so that the chocolate does not crack, wipe off the excess chocolate with a spatula and put the whole mold into the refrigerator so that the shell of future pralines hardens completely.
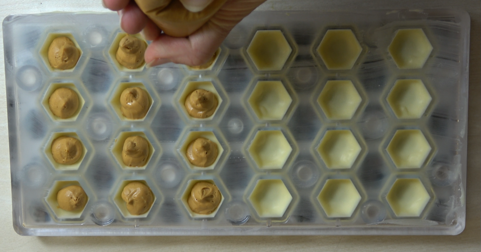
- Now, fill the pralines with cream using a pastry bag, leaving a few millimeters of free space at the upper edge.
- Finally, pour chocolate over it (it can also have a different color than the shell), thus creating the bottom of the pralines.
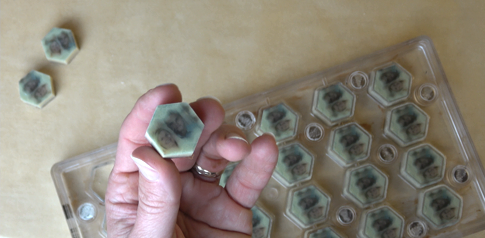
Let it harden and then knock it out of the mold. The printed image will be printed on the pralines. :)
Tip: The remaining pictures or ornaments around the pralines don´t have to be thrown out, but can be used for candy or chocolates, which we decorate by hand. Just like we did here.