Cart empty
Canalé
by Rosalie

As with most classic French pastries, the canele is a food with a varied and diverse history and like most great recipes and dishes from France, they have not changed for generations – the authentic, original recipes being guarded under lock and key.
This dessert was discovered and baked for the first time by my daughter Rosalie, so here she tells you how she came up with it and how she baked it. She also took great photos and described the entire process:
 "My passion for the French language and culture began in high school, thanks to an incredible teacher who did much more than just drill us on endless vocabulary. She immersed us in the everyday life and customs of the French, making studying feel less like a chore and more like the gateway to speaking the language.Together with my friends, Christina and Hannah, we became utter nerds for French. Our Whatsapp group was called ‘francallemands’ (a twist on the common franco-allemand, because God knows why we thought it was witty), we listened to vintage French classics, and most importantly, used half the class time to ask our patient and resourceful teacher endless questions. One day, I was tasked with preparing a presentation on ‘Nouvelle Aquitaine,’ France’s largest region, located in the southwest and internationally known for its wine, particularly from Bordeaux. What I soon discovered, though, was that Bordeaux is also the birthplace of the iconic French pastry, the cannelé.
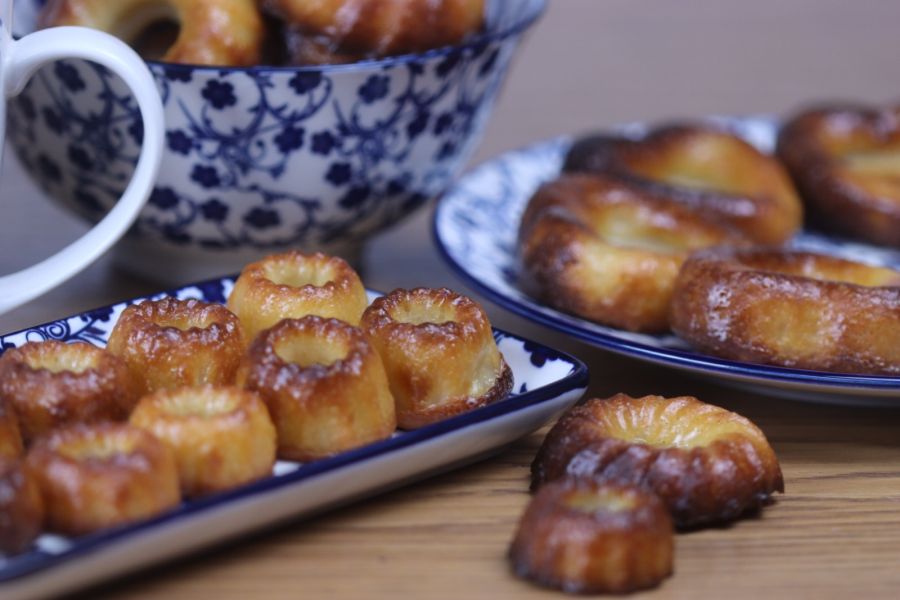
The canelé gets its name from the French word for “fluted” which suits its form. The pastry originated thanks to winemakers in Bordeaux who used egg whites to clarify wine and would give the excess egg yolks to nuns which in return took it to make food for poor children. As Bordeaux is a port, this recipe natural evolved into having rum and vanilla added to it, key components which give the cannele its distinct flavor profile. 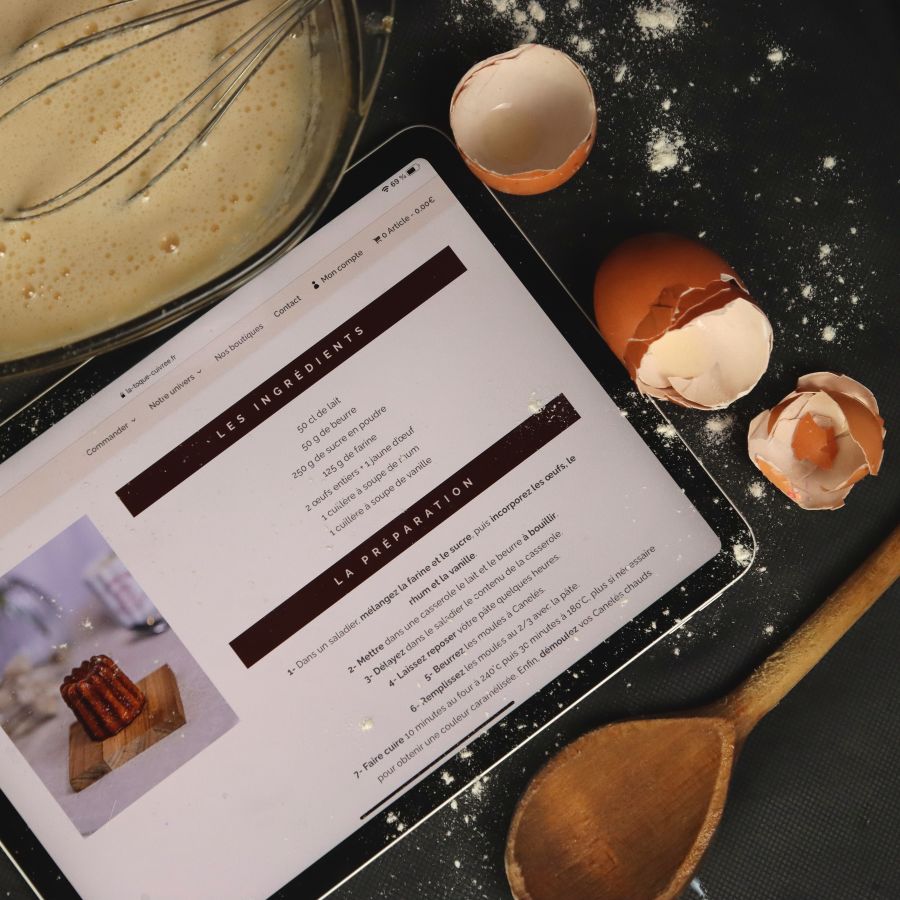 Naturally, I couldn’t just prepare a typical presentation. Since I’m not one to do things halfway, I decided to bake cannelés and bring them to class on the day of the presentation. I found a recipe from the renowned bakery La Toque Cuivrée and, to my delight, the result was a success. A few years later, when I visited Bordeaux and tasted the original cannelé, I can confidently say my efforts paid off. ;)
Now, I’d love for you to bring a bit of that French flair and delicious vanilla aroma into your kitchen with this recipe. Let’s get started!
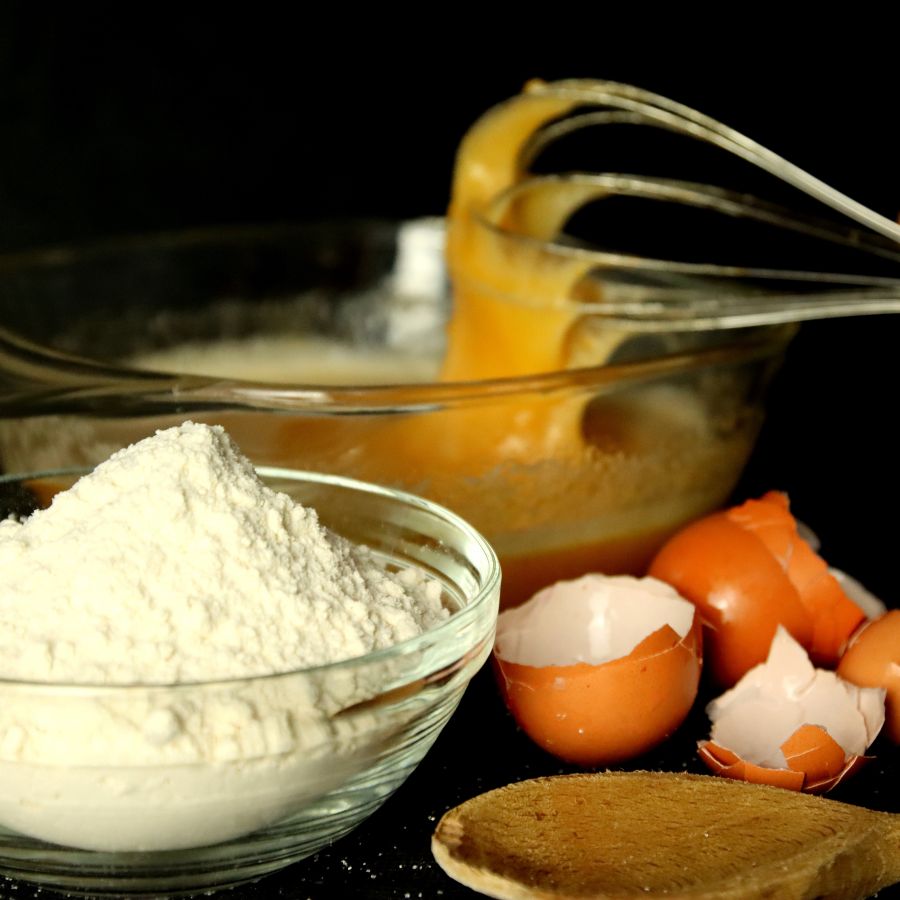
Like most great pastries, cannelés have a simple set of ingredients, but it's the technique and attention to detail that really make the difference. Egg yolks, flour, butter, salt, and milk are mixed together in a very specific order and left to rest overnight so the flour can absorb the milk and fully hydrate before baking. The ratio of these ingredients is similar to that of a basic crepe, but the method of preparation creates a completely different result—one that’s a world apart in terms of flavor and texture."
Tools
cannelé copper molds
I used silicone molds, but bronze ones are always better.
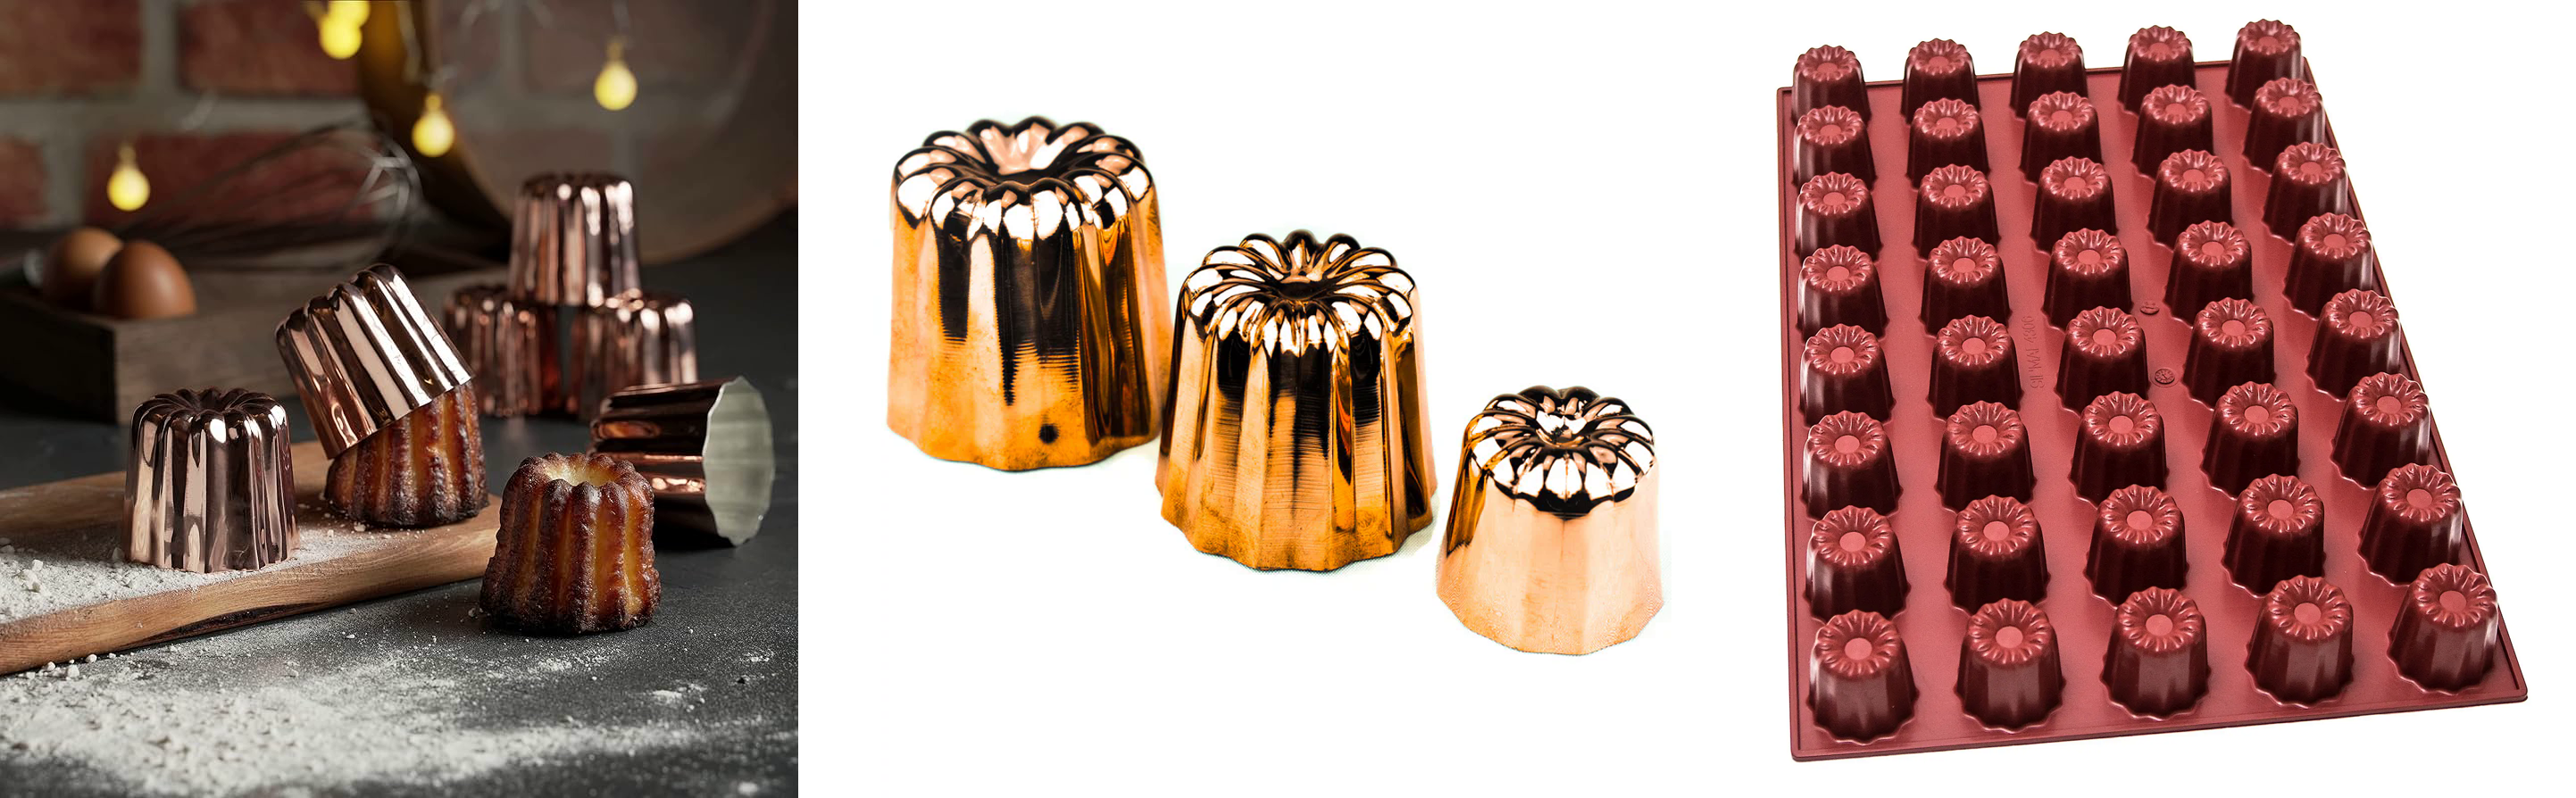
Traditionally, canelé are baked in copper molds "moules à canelés en cuivre. Copper is a classic material used in French patisserie because:
-
It conducts heat extremely well, allowing the batter to caramelize beautifully on the outside while remaining soft and moist on the inside.
-
When combined with beeswax (the traditional method for greasing the molds), it creates the iconic look: a crisp, darkly caramelized crust with a tender center. Nowadays, bronze or silicone molds are commonly used as well, since they are more affordable, lighter, and easier to find. However, if you're aiming for an authentic result like the ones from Bordeaux – copper molds are the golden (or rather copper 😊) standard.
Ingredients
50 cl of milk
50g of butter
250g of sugar
125g of flour
2 whole eggs
2 egg yolks
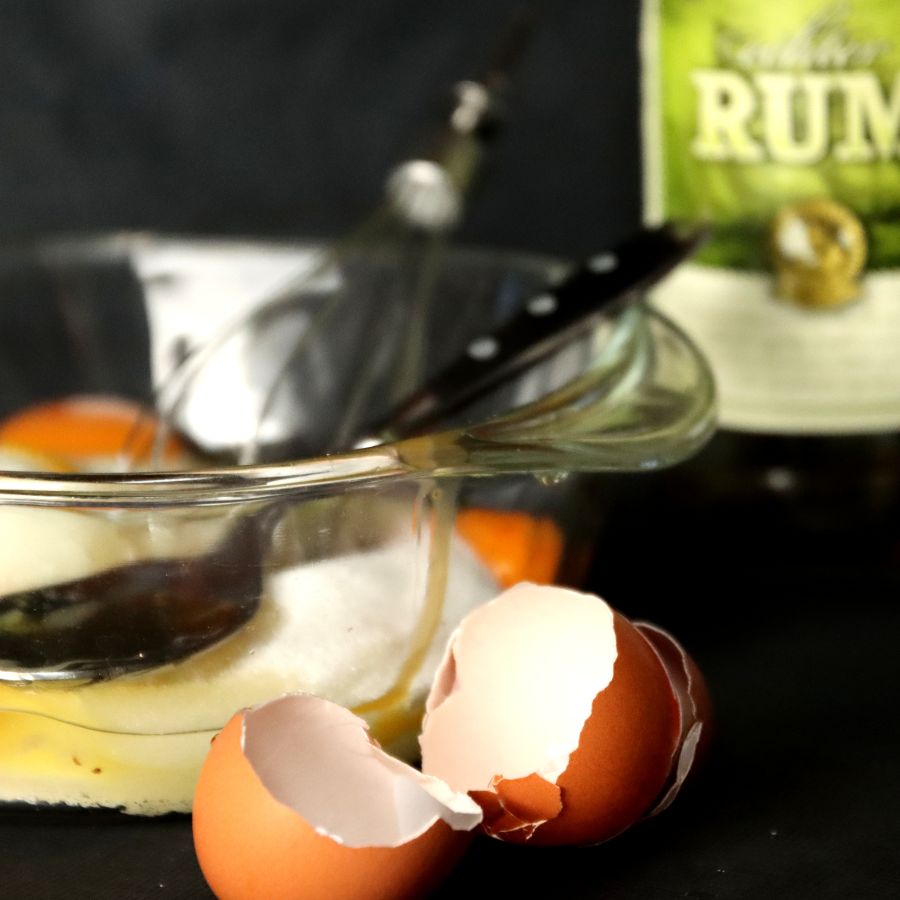
2 tablespoons of dark rum
1 vanilla pod
Instructions
The day before: preparation of the cannelé mixture
1
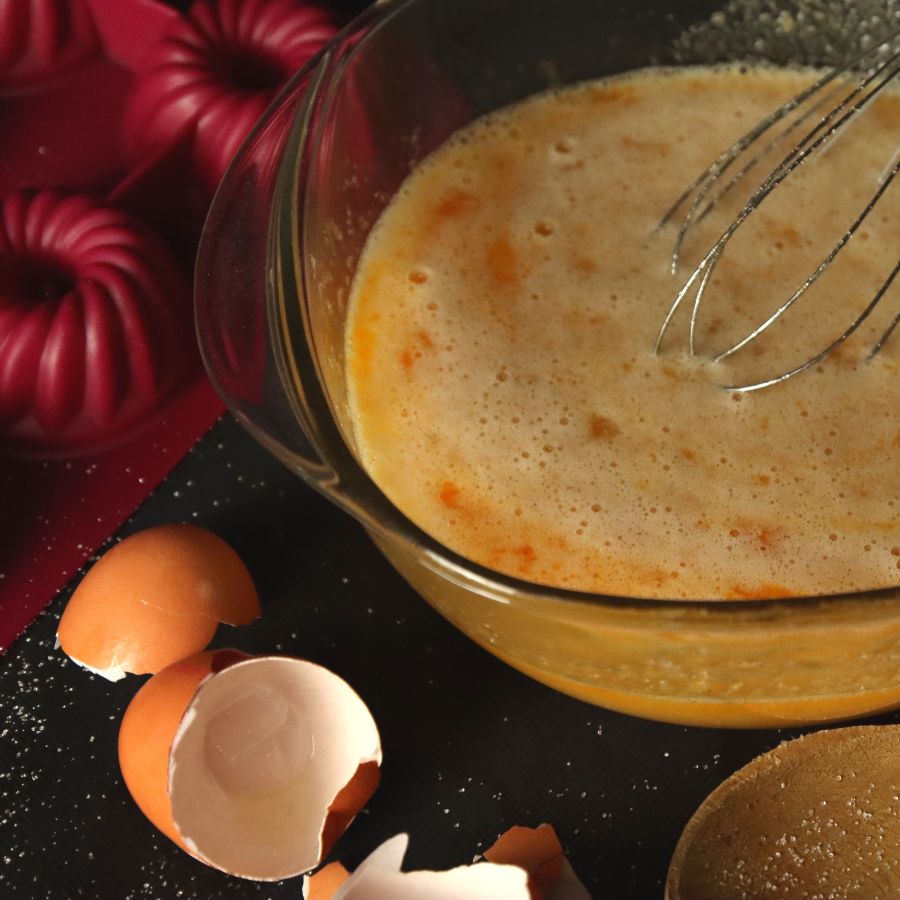
Split a vanilla pod in two and scrape the inside with a knife. Dip everything in the milk (place in a saucepan).
2
Bring the mixture to boil. Remove immediately from the heat and let infuse for 30 minutes.
3
Meanwhile, in a salad bowl, mix the flour and sugar.
4
Add the eggs and rum.
5
After 30 minutes, remove the vanilla pod from the milk with a strainer.
6
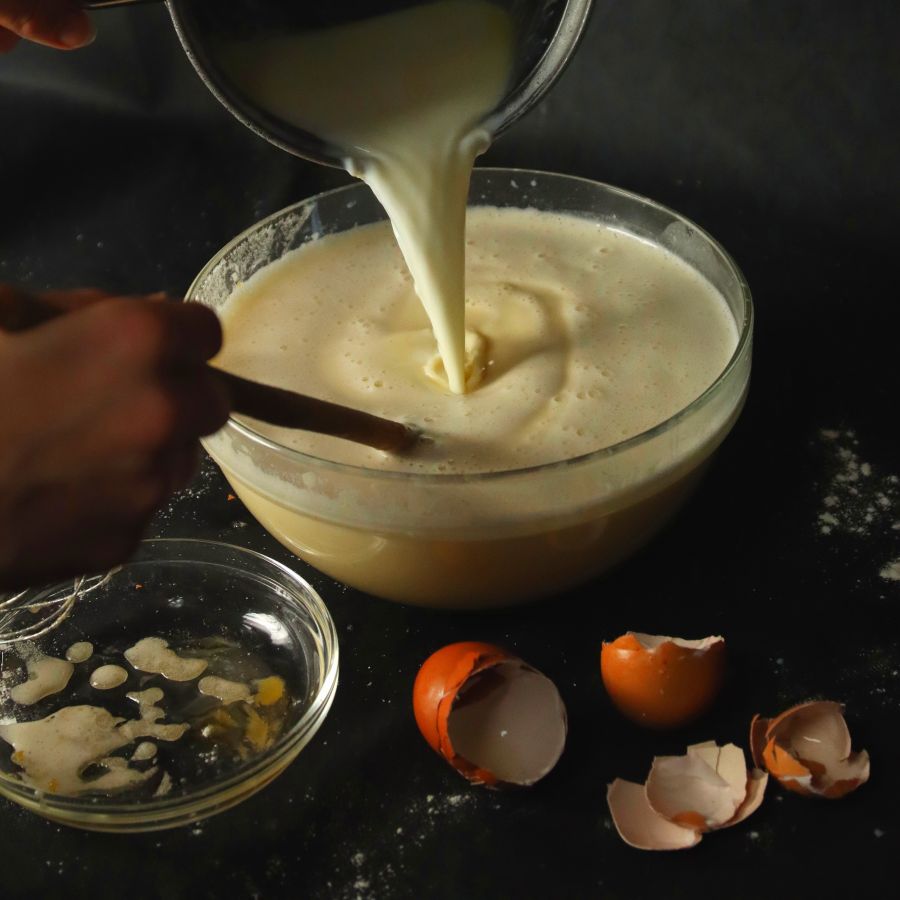
Add the melted butter to the milk and vanilla mixture. Mix well.
7
Dilute the mixture in the salad bowl.
8
Leave to rest in the refrigerator until the next day.
Second day: Cooking the mini cannelés
1
Take the mixture out of the refrigerator 1 hour before cooking.
2
Preheat the oven for 10 minutes to 270 degrees (thermostat 9).
3
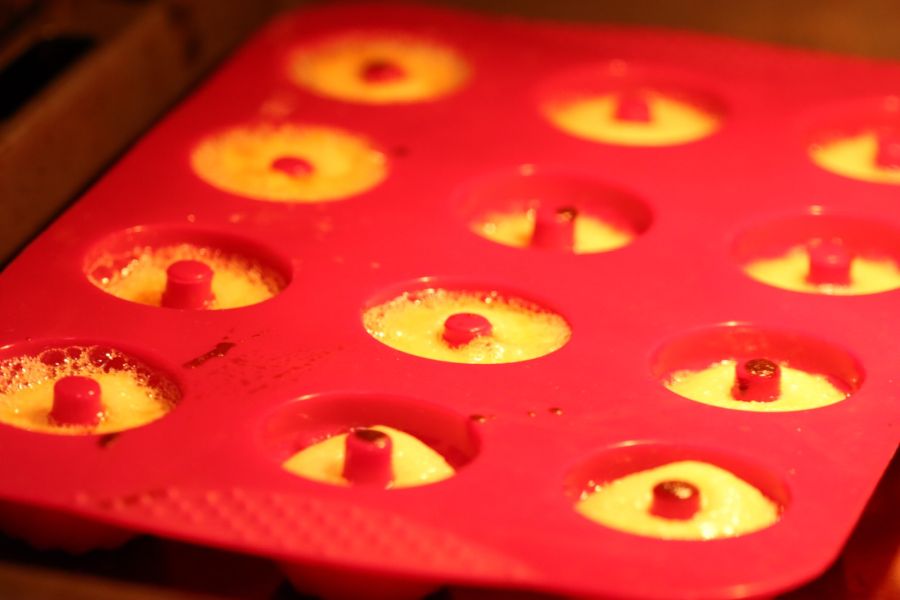
Butter your mini cannelé molds.
4
Fill each mold up to 2/3.
5
Bake for 5 minutes at 270°.
6
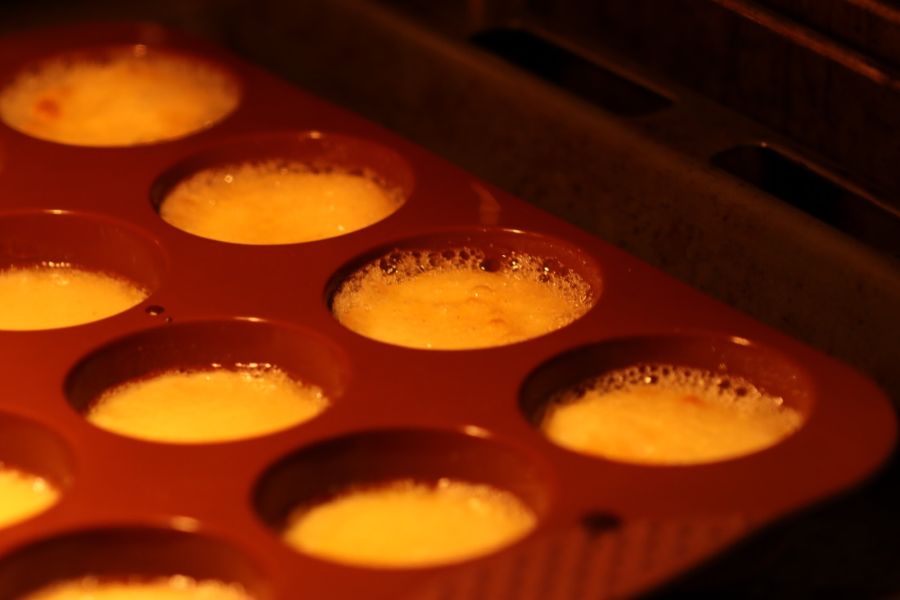
Lower the temperature to 180° (thermostat 6) then leave to cook for about 50 minutes.
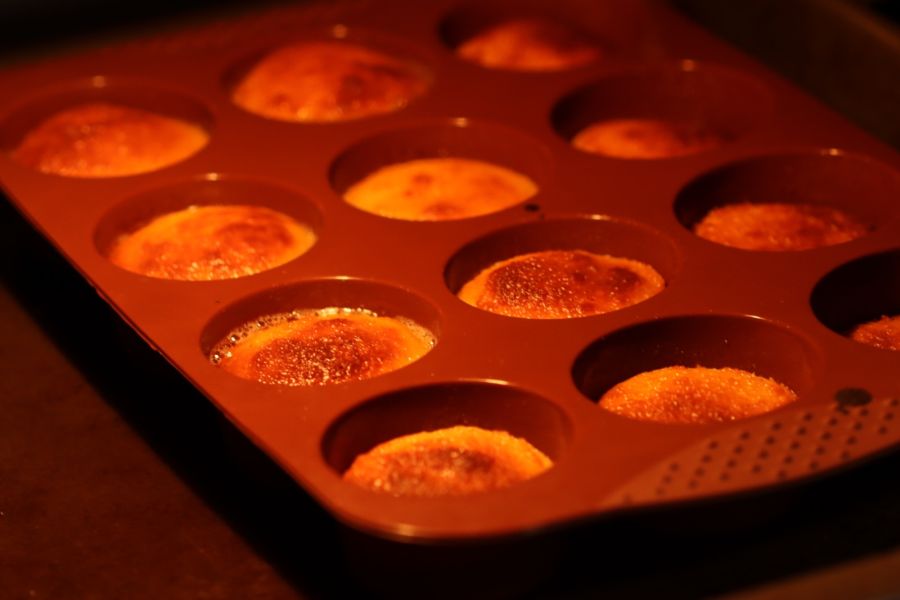
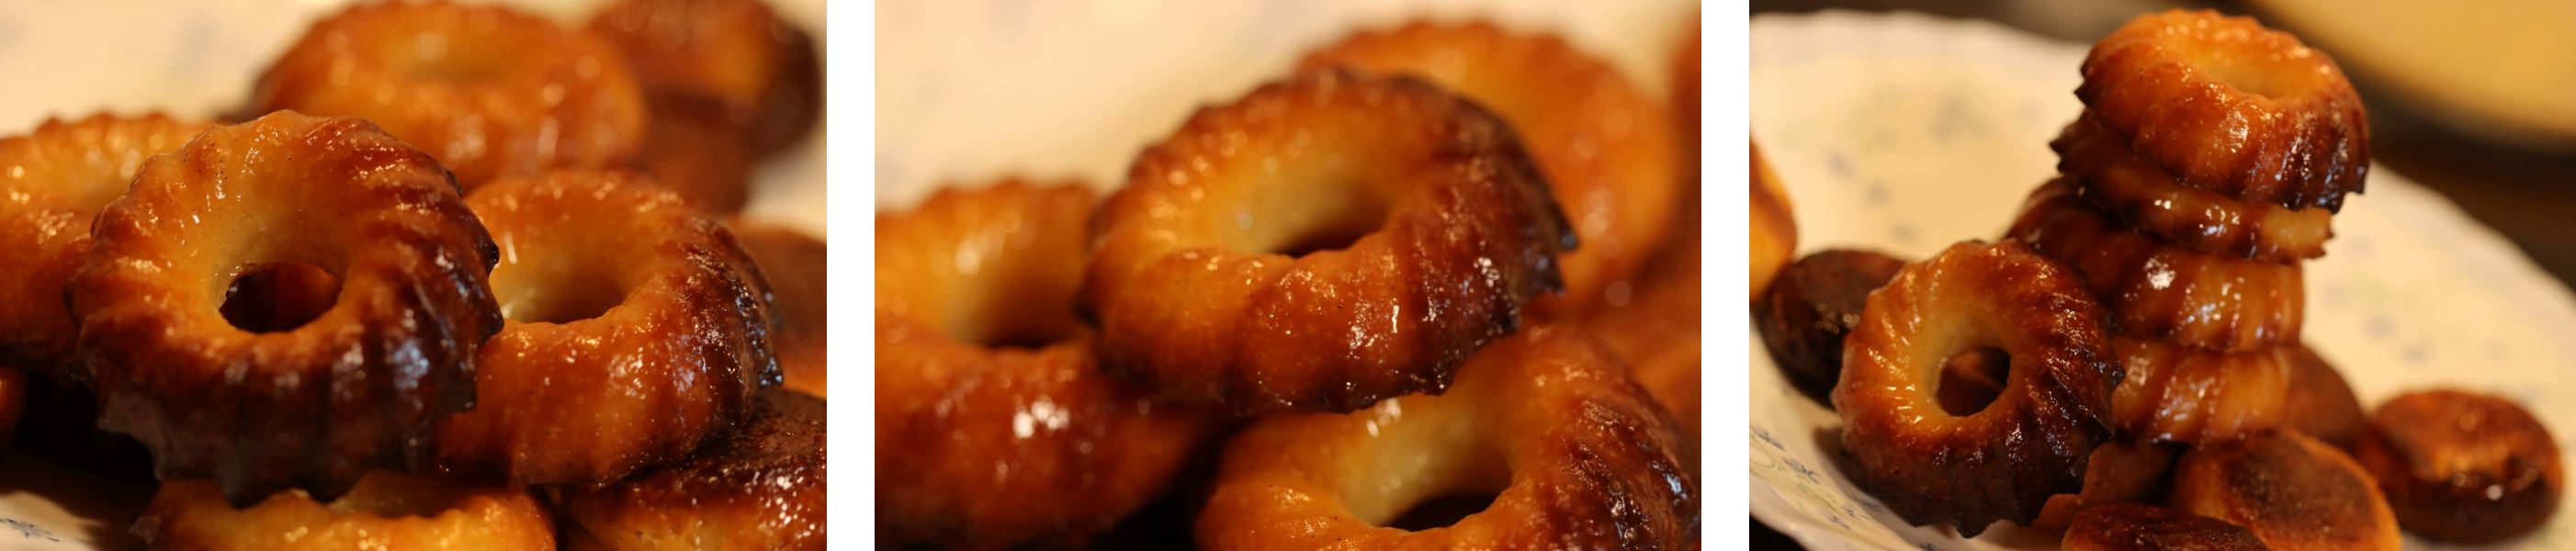
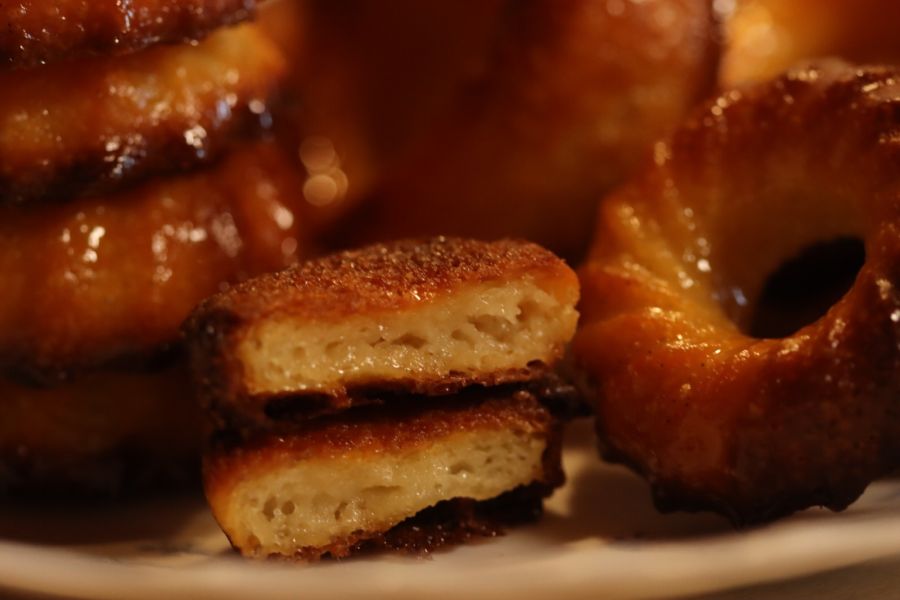
7
Monitor the cooking: your cannelés should take on a caramelized brown color while being soft in the center.
8
Once removed from the oven, wait 10 minutes before unmolding them.
Belle Passion by Patricia Bereni
No item found! Please make sure that your Instagram User ID and Access Token is correct